
Rock lights aren’t just for show — they’re one of the most practical and visually striking upgrades you can add to your Toyota Tacoma. Whether you’re navigating trails at night, showcasing your build at a meet, or just want better visibility under and around your truck, rock lights are an affordable and effective mod.

In this guide, we’ll walk through the benefits, how to install them, and when they’re most useful — especially for off-roaders and weekend warriors.
What Are Rock Lights?
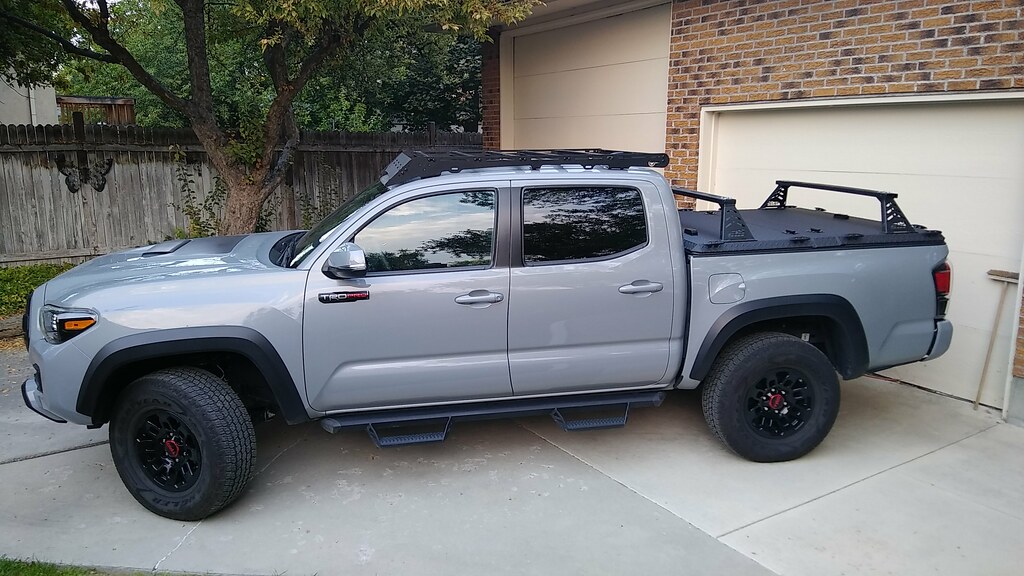
Rock lights are small LED pods mounted underneath a vehicle to illuminate the ground around the tires, suspension, and undercarriage. Originally designed for nighttime rock crawling and trail driving, they’ve also become popular for style and visibility.
They come in various options:
- White or multi-color (RGB)
- Bluetooth or app-controlled
- With waterproof and shockproof housing
Why Add Rock Lights to Your Tacoma?

Here are the top reasons Tacoma owners install rock lights:
🛞 1. Off-Road Visibility
They help you see rocks, holes, and trail obstacles during nighttime off-roading. This is crucial when tire placement matters.
🧰 2. Undercarriage Inspections
Whether you’re checking for leaks or damage, lighting under the truck without a flashlight is incredibly helpful.
💡 3. Safety & Roadside Use
If you’re pulled over in the dark for a tire change or stuck in mud, rock lights give you 360-degree visibility.
🔥 4. Aesthetic Appeal
Let’s be honest — a glowing underbody looks great. RGB rock lights let you change colors, sync with music, or create ambient lighting at events.
What You’ll Need
🧰 Installation Kit Includes:
- 4–8 LED rock light pods (depending on your coverage needs)
- Wiring harness with switch or Bluetooth module
- Fuse and relay (usually included)
- Mounting hardware (screws, zip ties, brackets)
🛒 Popular Kits:
- Nilight RGB LED Rock Lights
- Baja Designs Rock Light Kit
- Mictuning Bluetooth-Controlled Pods
Where to Mount Them
The most common mounting spots on a Tacoma:
- Wheel wells (to light up tires)
- Frame rails (for side illumination)
- Front and rear bumpers (for wide-angle ground coverage)
Use adhesive + screws or brackets for durability, especially if you off-road often.
Step-by-Step Installation Guide
1. Plan Your Layout
Decide how many pods you want and where to place them. Symmetry and distance matter — you want even lighting.
2. Prep the Surface
Clean each mounting area thoroughly and ensure it’s dry.
3. Mount the Pods
Secure each light using the included hardware. For extra grip, use silicone or adhesive-backed tape as reinforcement.
4. Wire Everything Safely
- Connect all lights to the wiring harness
- Use heat shrink tubing or electrical tape to weatherproof connections
- Route wires neatly along the frame using zip ties
5. Connect Power
- Wire to a 12V power source (usually the battery)
- Use the included switch or connect to an app module if your kit includes Bluetooth
6. Test and Adjust
Turn them on, check for flickers or loose wires, and adjust angles for maximum ground coverage.
When Should You Use Rock Lights?

Rock lights are best used in:
- Nighttime trail runs
- Low-light campsites
- Dark roadside emergencies
- Off-road meets or shows
- Garage work or detailing
Just avoid turning them on while driving on public roads, especially with bright RGB modes — they can be distracting and illegal in some areas.
Are Rock Lights Legal?
Generally, white or amber rock lights are legal when parked or off-road. However, red or blue lights and strobing modes are restricted in many states.

✔️ Always check local laws and use them only in appropriate environments.
Cost Breakdown
| Item | Estimated Cost |
|---|---|
| Rock light kit (4–8 pods) | $40–$150 |
| Fuse/Relay kit | Usually included |
| Labor (if installed professionally) | $100–$200 |
| DIY Total | ~$60–$160 |
DIY installation takes 2–4 hours and saves you $100+ in shop labor.
Final Thoughts: Is It Worth It?
If you off-road, camp, or work on your Tacoma regularly — absolutely. Even for casual drivers, rock lights add flair and functional lighting for surprisingly little money.
Plus, they make your truck stand out while adding a practical touch that’s easy to appreciate the moment you’re out past dark.
You Might Also Be Interested In:
- Best Cold Air Intake for Ford F-150
- Top 5 Budget Performance Mods for Honda Civic
- How to Increase Car Resale Value
- Best Trunk Organizers for SUVs
Let’s Talk Cars
Have a question? A suggestion? Just want to say hi?
You’re in the right place.
Use the form below to reach out to the AutoSpecs Daily team. We're happy to hear from readers, car lovers, first-time buyers, and anyone who's got something to share.
What can you contact us about?
- Feedback on one of our articles
- Ideas for new topics you'd like us to cover
- Questions about cars, gear, or general auto advice
- Media, partnership, or brand inquiries
- Anything else that's on your mind
We check every message that comes through and do our best to respond within 2 to 3 business days.
We don’t list an email address here to avoid spam, but the contact form is the best and fastest way to reach us.
Thanks for stopping by. We're glad you're here.