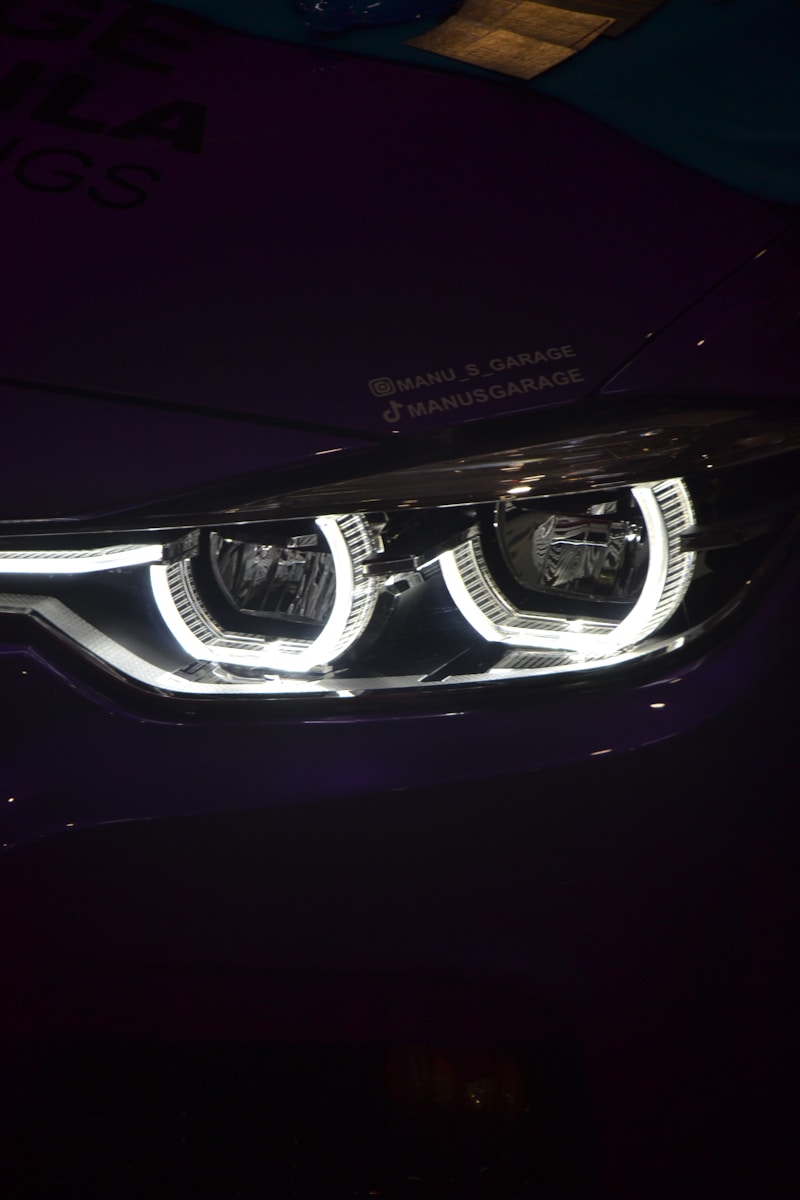
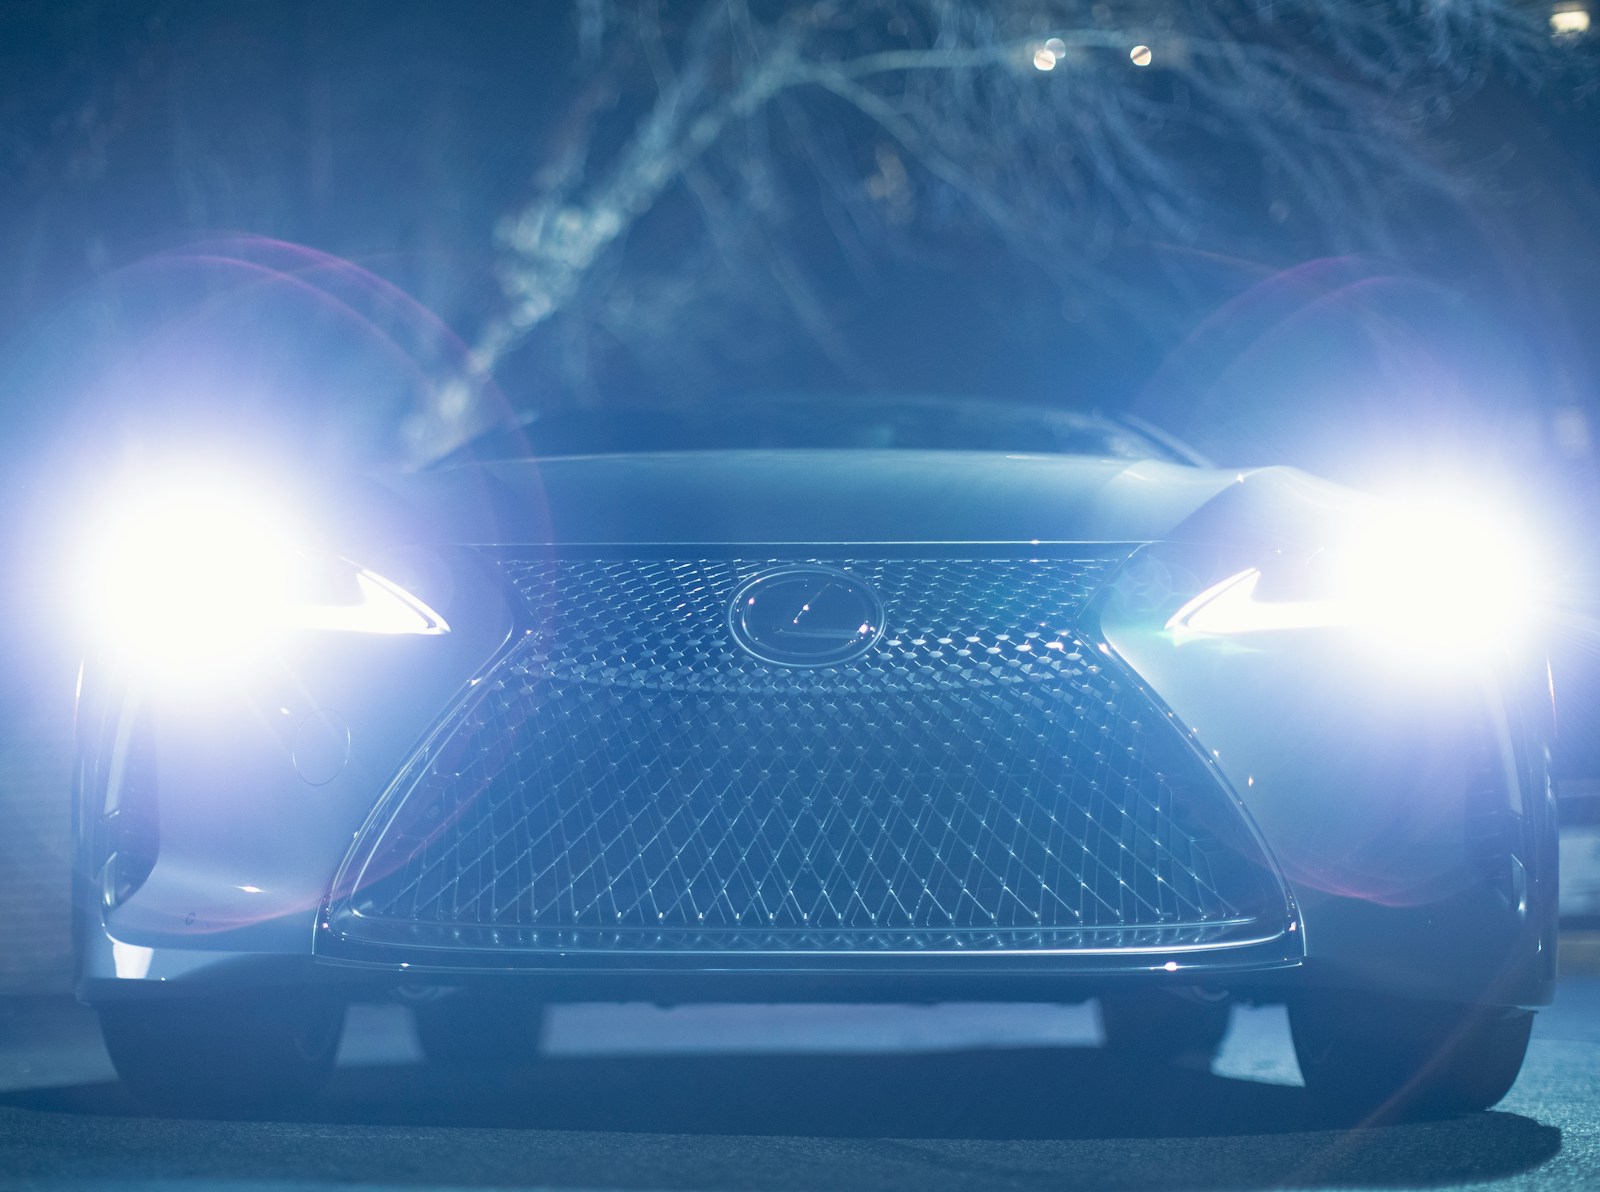
Upgrading to LED headlights is one of the easiest and most rewarding modifications you can make to your car. Not only do LED bulbs look modern, but they also offer better visibility, last significantly longer than halogen bulbs, and consume less power.
Whether you’re looking for a crisp white light or just tired of dim yellow halogens, this guide will walk you through the process of installing LED headlights at home—even if you’re not a mechanic.
Why Upgrade to LED Headlights?

Before we dive in, here are a few reasons drivers are making the switch:
- Improved nighttime visibility
- Longer lifespan (up to 30,000+ hours)
- Lower power draw = less strain on your car’s electrical system
- Modern look
- Plug-and-play options available for most vehicles
Tools and Materials You’ll Need
For most DIY LED headlight installs, you won’t need many tools. Here’s a basic checklist:
- LED headlight bulb kit (make sure it matches your car’s bulb size, e.g., H11, 9005, etc.)
- Owner’s manual (for bulb type and location)
- Screwdriver (Phillips or flathead, depending on your car)
- Gloves (to keep oils off bulbs)
- Zip ties or adhesive pads (for wire management)
Step-by-Step Installation Guide
🔍 Step 1: Check Your Bulb Type
Before you buy LED bulbs, look up your car’s bulb type. You can check:
- The owner’s manual
- Online databases like Sylvania’s bulb finder
- Pop the hood and check the markings on the back of the headlight housing
Each headlight housing uses a specific size and socket—get the wrong one and it won’t fit.
🧰 Step 2: Remove the Old Bulbs
- Pop the hood and locate the back of your headlight housing.
- Twist the bulb connector counterclockwise and pull it out gently.
- Disconnect the power connector from the halogen bulb.
Note: Some vehicles require removing the battery, air intake, or splash guards to reach the bulbs.
💡 Step 3: Install the New LED Bulbs
- Connect the LED bulb to the power harness. Most kits are plug-and-play.
- Insert the LED bulb into the housing. Align the tabs correctly and twist clockwise to lock.
- Some LEDs have a built-in fan or heat sink—make sure there’s enough space.
Tip: If your LED bulbs are polarity-sensitive, they may not light up unless connected correctly. Try flipping the plug if they don’t turn on.
📏 Step 4: Secure and Manage Wires
Many LED kits come with drivers or extra wiring. Use zip ties or adhesive pads to secure them and prevent rattling or contact with hot engine parts.
Avoid letting wires hang or touch moving components like fans or pulleys.
🔦 Step 5: Test the Headlights
- Turn on your car and check both low and high beams.
- Ensure they are aligned properly—LED bulbs should emit a clean, horizontal cutoff to avoid blinding others.
- Some cars may show a “bulb out” warning due to LED’s low power draw. You may need a CANbus adapter or anti-flicker resistor.
Optional: Adjust the Headlight Aim
LED bulbs are often brighter and more focused. Misaligned beams can blind other drivers or reduce your own visibility.
To adjust:
- Park 25 feet from a wall on level ground
- Mark the center of each headlight beam on the wall
- Use the vertical/horizontal screws on your headlight assembly to adjust the beam height to below the centerline of the headlight lens
Refer to your owner’s manual for the exact adjustment screws.
Do’s and Don’ts
✅ DO:
- Wear gloves to avoid contaminating the bulb or lens
- Use a bulb type designed for reflector or projector housings
- Test the lights before putting everything back together
❌ DON’T:
- Use LED bulbs in housings not designed for them unless approved (some may scatter light)
- Touch the LED chip or lens directly
- Forget to check local laws—some states regulate headlight modifications
FAQs
1. Are LED headlights street legal?
It depends on your vehicle and bulb housing. Some aftermarket LED kits are DOT-approved, while others are for off-road use only. Always check your local laws and the product’s certification.
2. Why are my LED headlights flickering or not turning on?
This can be caused by:
- Incorrect polarity (flip the connector)
- CANbus incompatibility (some vehicles need a decoder)
- Loose wiring or poor ground
If you’re using a newer vehicle, consider a kit with CANbus support or install an anti-flicker harness.
3. How long do LED headlights last?
Quality LED bulbs can last 20,000 to 30,000 hours, far exceeding halogen bulbs (which last about 500–1,000 hours). Heat is the main killer of LEDs, so choose a kit with good heat management (fan or passive heat sink).
Final Thoughts
Installing LED headlights is one of the simplest upgrades you can make to boost visibility, safety, and style. With plug-and-play kits available for most vehicles, it’s a great beginner project that usually takes less than an hour.
Just remember: get the right bulb size, manage your wires neatly, and test before finalizing everything. Whether you drive a Toyota Corolla or a Ford F‑150, brighter roads await—one bulb swap at a time.
Let’s Talk Cars
Have a question? A suggestion? Just want to say hi?
You’re in the right place.
Use the form below to reach out to the AutoSpecs Daily team. We're happy to hear from readers, car lovers, first-time buyers, and anyone who's got something to share.
What can you contact us about?
- Feedback on one of our articles
- Ideas for new topics you'd like us to cover
- Questions about cars, gear, or general auto advice
- Media, partnership, or brand inquiries
- Anything else that's on your mind
We check every message that comes through and do our best to respond within 2 to 3 business days.
We don’t list an email address here to avoid spam, but the contact form is the best and fastest way to reach us.
Thanks for stopping by. We're glad you're here.

