
Is your car’s headliner sagging or stained? You’re not alone. Over time, heat, humidity, and age can cause that soft fabric on the ceiling of your car to detach, sag, or bubble — making your interior look older and neglected.

But here’s the good news: you can repair your car’s headliner yourself with a few basic tools and materials, saving hundreds in upholstery shop fees. In this guide, we’ll walk through how to fix it right in your driveway and boost your car’s resale value while you’re at it.
What Is a Headliner?
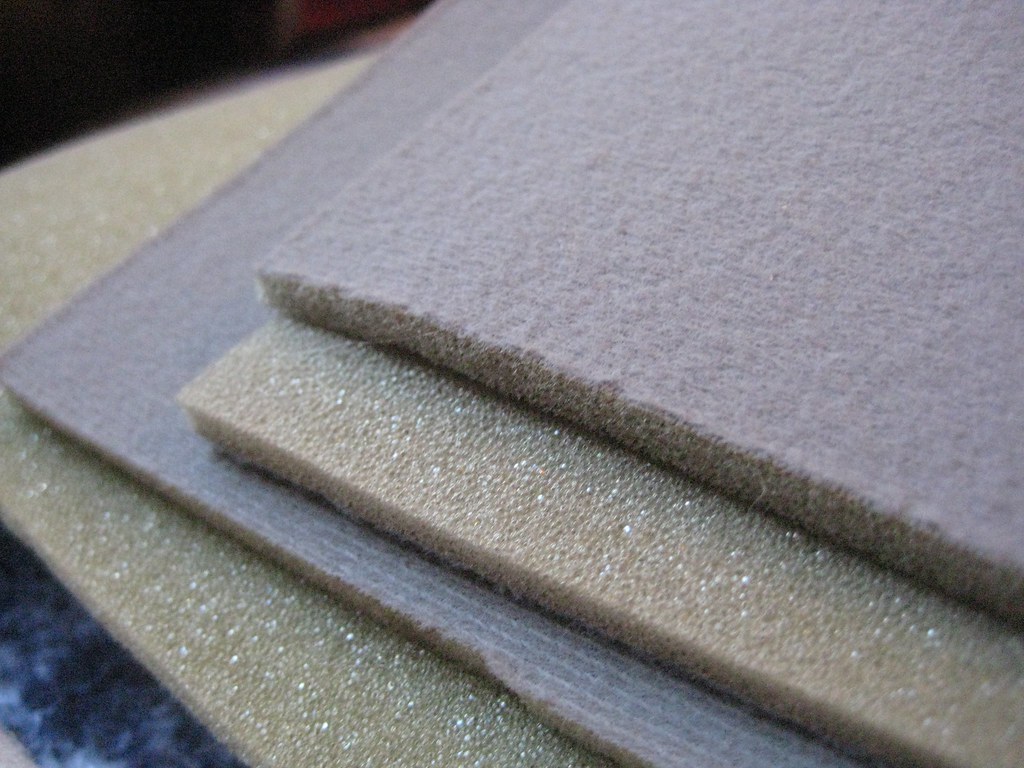
The headliner is the soft, padded fabric on the ceiling of your car’s interior. It consists of:
- A fabric layer (usually cloth or suede-like)
- A thin foam backing
- A rigid board underneath (often fiberglass or cardboard-like material)
Over time, the adhesive between the foam and fabric breaks down — causing sagging, separation, and sometimes moldy smells.
Why Repair It Yourself?
Professional shops often quote $250–$600 for headliner replacement. With a DIY approach, you can get the job done for under $40 and a few hours of work.
Benefits include:
- Fresh-looking interior
- Higher resale value
- Elimination of odors
- Reduced road noise (in some cases)
Tools & Materials You’ll Need
🧰 Basic Materials:
- Spray adhesive (high-temp rated – 3M 90 or Loctite recommended)
- Headliner fabric (available pre-cut for most cars)
- Utility knife or scissors
- Screwdrivers or trim removal tools
- Soft-bristled brush or sandpaper
- Optional: paint roller or bond press
💡 Pro Tip: Avoid using standard glue guns or non-heat-resistant adhesives — they’ll fail again after a hot day in the sun.
Step-by-Step: DIY Headliner Repair
Step 1: Remove the Headliner Board
- Disconnect the car battery if working near airbags.
- Carefully remove interior trim pieces — A, B, and C pillars, dome lights, visors, and grab handles.
- Lower the board and slide it out through a door or rear hatch.
🛠️ This step requires patience — don’t force plastic clips or they may break.
Step 2: Strip Off Old Fabric & Foam
- Peel off the old fabric gently.
- Use a brush or sandpaper to remove all foam residue from the board. If you skip this, the new adhesive won’t stick properly.
Step 3: Apply Adhesive
- Shake the spray adhesive can for at least 1 minute.
- Spray both the fabric backing and the board in even coats.
- Wait 1–2 minutes until tacky (not wet).
Step 4: Lay Down the New Fabric
- Start from the center and work outward.
- Press the fabric into place slowly, using a roller or your hands to smooth wrinkles.
- Cut slits for lights, visors, and handles after the fabric is secured.
Step 5: Reinstall the Headliner
- Carefully place the board back in the vehicle.
- Reconnect all trim pieces, lights, and visors.
- Check for tight fitment and clean off any glue residue.
Bonus: Quick Fixes If You’re in a Hurry
Need a temporary fix before resale or trade-in?
- Twist Pins: Also called “saggy stoppers,” these screw into the board to hold the fabric up. Cheap and fast.
- Glue Injection: Carefully apply adhesive using a syringe between the fabric and board.
- Double-Sided Tape: Not ideal for heat, but it works in a pinch.
These don’t look factory-fresh but can help short-term — especially if selling the vehicle soon.
Final Result: Like New for Under $40
With care, a DIY repair looks just as good as a shop job — and saves you hundreds. Plus, if you’re reselling your vehicle, it signals to buyers that the car has been well cared for.
You Might Also Be Interested In:
- How to Increase Car Resale Value
- Top Car Maintenance Tips for Summer
- How to Detail Your Car Like a Pro
- Best Seat Covers for Pet Owners
Let’s Talk Cars
Have a question? A suggestion? Just want to say hi?
You’re in the right place.
Use the form below to reach out to the AutoSpecs Daily team. We're happy to hear from readers, car lovers, first-time buyers, and anyone who's got something to share.
What can you contact us about?
- Feedback on one of our articles
- Ideas for new topics you'd like us to cover
- Questions about cars, gear, or general auto advice
- Media, partnership, or brand inquiries
- Anything else that's on your mind
We check every message that comes through and do our best to respond within 2 to 3 business days.
We don’t list an email address here to avoid spam, but the contact form is the best and fastest way to reach us.
Thanks for stopping by. We're glad you're here.